Introduction
Bean sprouts are a highly nutritious, protein-rich addition to meals that are becoming increasingly popular in healthy home cooking. Not only are they crunchy and delicious, but they are also easy to grow at home — no garden required. With just water, a little attention, and basic household items, you can grow fresh bean sprouts in as little as 2–6 days.
Whether you are a busy housewife, health-conscious home cook, or someone looking to reduce grocery bills, growing your own bean sprouts is rewarding. In this guide — [FOCUS KEYWORD] — we’ll explore 5 super easy and unique ways to make bean sprouts at home. These methods are practical, cost-effective, and perfect for small kitchens.
Background Context
Bean sprouts, such as mung bean, lentil, or chickpea sprouts, are staples in many Asian cuisines. They are celebrated for their high vitamin content, plant protein, and fiber, making them a healthful addition to salads, stir-fries, soups, and sandwiches.
The resurgence in home sprouting comes from a desire for fresh, chemical-free produce, and the simplicity of the process. Using everyday household items, you can grow sprouts indoors, year-round. However, safety is essential: raw sprouts can carry foodborne pathogens, so proper hygiene and rinsing are crucial. (realsimple.com)
1. Jar Sprouting Method (Classic & Easy)
The jar method is the most common and beginner-friendly way to grow bean sprouts:
What you need:
- Clean mason jar
- Sprouting lid or cheesecloth with a rubber band
- Fresh sprouting beans (mung beans are ideal)
Steps:
- Soak 2–3 tablespoons of beans in cool water overnight.
- Drain and place the beans in the jar, covering the top with a sprouting lid or cloth.
- Position the jar at an angle to allow excess water to drain.
- Rinse and drain twice daily.
- Harvest sprouts once they are about 1–2 inches long. (harrisseeds.com)
Why it works:
The jar method is compact, simple, and perfect for small kitchens. It contains the beans neatly while ensuring airflow and drainage.
2. Cloth & Bowl Method (Old-School & Unique)
This method is traditional but highly effective, using items most households already have:
Steps:
- Spread soaked beans on a damp cloth or muslin in a colander or bowl.
- Cover the beans with another damp cloth to retain moisture.
- Rinse and drain every 8–12 hours.
- Harvest in 3–6 days. (sproutme.co.in)
Why it’s unique:
The cloth method provides gentle airflow and prevents overcrowding, resulting in evenly sprouted, fresh beans.
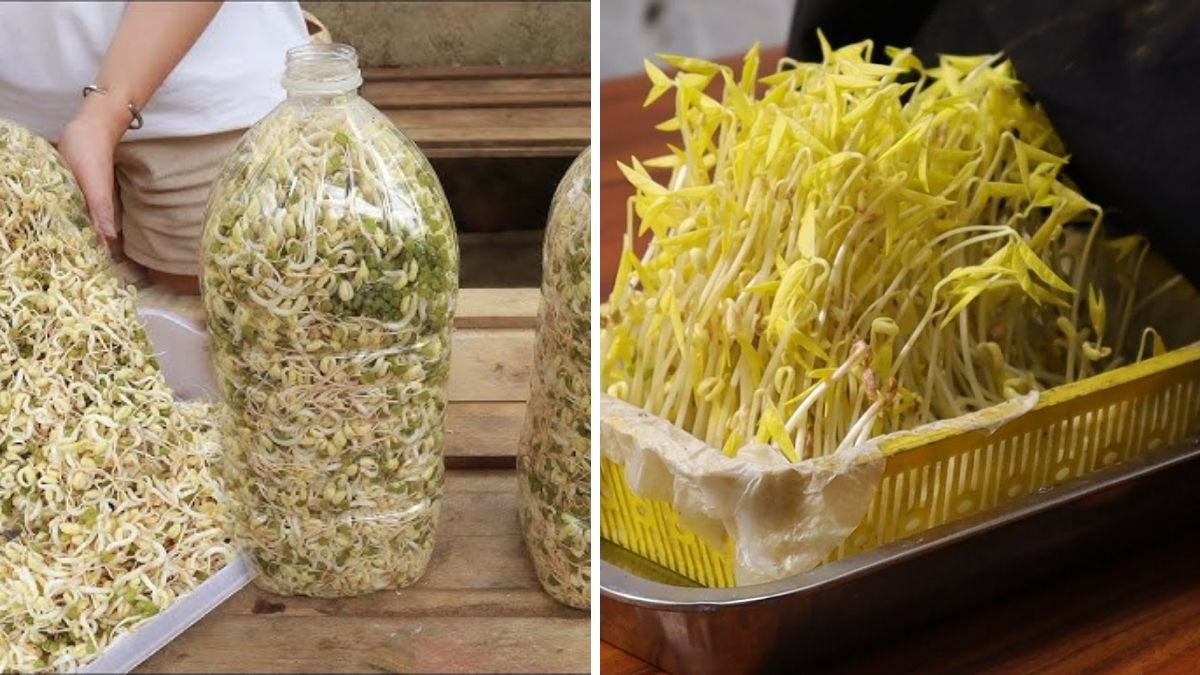
3. Recycled Bottle Sprouting (Eco-Friendly DIY)
Perfect for eco-conscious households, this method reuses materials:
How to set up:
- Take a clean plastic bottle and cover the neck with breathable cloth.
- Soak beans overnight, then place them in the bottle.
- Rinse and drain twice daily.
- Keep in a cool, indirect-light area until sprouts are ready. (therike.com)
Why it’s great:
This method reduces waste, saves money, and works well for kitchen counters or small spaces.
4. Tray or Box Method (Large Yield for Families)
If you want to grow a larger batch of sprouts, this method is ideal:
Steps:
- Use a shallow tray or container with drainage holes.
- Spread soaked beans evenly in the tray.
- Cover with a damp cloth to retain moisture.
- Rinse 2–3 times daily and keep at room temperature.
- Harvest in 4–6 days. (instructables.com)
Benefits:
This method is perfect for families or frequent cooks, producing more sprouts at once.
5. Temperature-Controlled Sprouting (Speed Up Process)
Speed up germination with warmth:
Tips:
- Keep the sprouting setup in a warm, indirect-light spot.
- Slightly higher temperatures reduce sprouting time from 4–6 days to 2–3 days.
- Provide indirect light near the end of sprouting to enhance greening and flavor. (therike.com)
Why it’s different:
Temperature control is perfect for busy schedules, delivering fresh sprouts faster without sacrificing quality.
How to Use Your Homemade Bean Sprouts
Fresh bean sprouts are versatile and delicious:
- 🥗 Salads: Add crunch and nutrition to leafy greens. (homeal.co.in)
- 🍜 Stir-Fries: A classic ingredient in Asian-style stir-fries. (chinasichuanfood.com)
- 🥪 Sandwiches & Wraps: Adds freshness and texture. (homeal.co.in)
- 🍲 Soups & Curries: Adds light crunch and nutrients. (homeal.co.in)
Sprouts are rich in vitamins, minerals, fiber, and plant-based protein, making them ideal for healthy family meals. (veganfoodandliving.com)
Food Safety Tips
While home sprouting is simple, safety is critical:
- Rinse sprouts twice daily to prevent bacterial growth. (harrisseeds.com)
- Always use clean containers and utensils.
- Discard any sprouts with a sour smell, sliminess, or mold.
Raw sprouts can be susceptible to contamination, so maintaining cleanliness is key. (realsimple.com)
Authoritative Sources
For further guidance and expert techniques:
- Harris Seeds – How to Grow Sprouts at Home: Step-by-step sprouting advice. (harrisseeds.com)
- SproutMe Jar Sprouting Guide: Practical schedule and tips. (sproutme.co.in)
- Instructables – Bean Sprouts at Home: Step-by-step visual guide. (instructables.com)
These sources are highly trusted for safety, efficiency, and practical advice.
Conclusion
Growing bean sprouts at home is affordable, simple, and highly rewarding. Whether you choose the jar method, cloth technique, recycled bottles, tray systems, or temperature-controlled sprouting, each approach can yield fresh, crunchy, and nutritious sprouts within days.
By following [FOCUS KEYWORD], housewives and home cooks alike can enjoy fresh, chemical-free sprouts anytime, enhancing meals with health, flavor, and satisfaction.
Start with a small batch, experiment with different beans, and soon you’ll have a constant supply of fresh sprouts for your family. It’s a fun, sustainable, and cost-effective way to boost your kitchen’s nutrition game!