Creating a stylish herb garden from old wine crates is an engaging and eco-friendly way to enhance your home. Not only does this give a second life to discarded materials, but it also allows you to grow fresh herbs right at your doorstep. Whether you have a rustic theme or a modern aesthetic in your home, wine crates can be transformed into stunning planters that add character and functionality to your space. This article will guide you through the process, highlighting tips, techniques, and methods to make it easy and enjoyable.
Why Use Wine Crates?
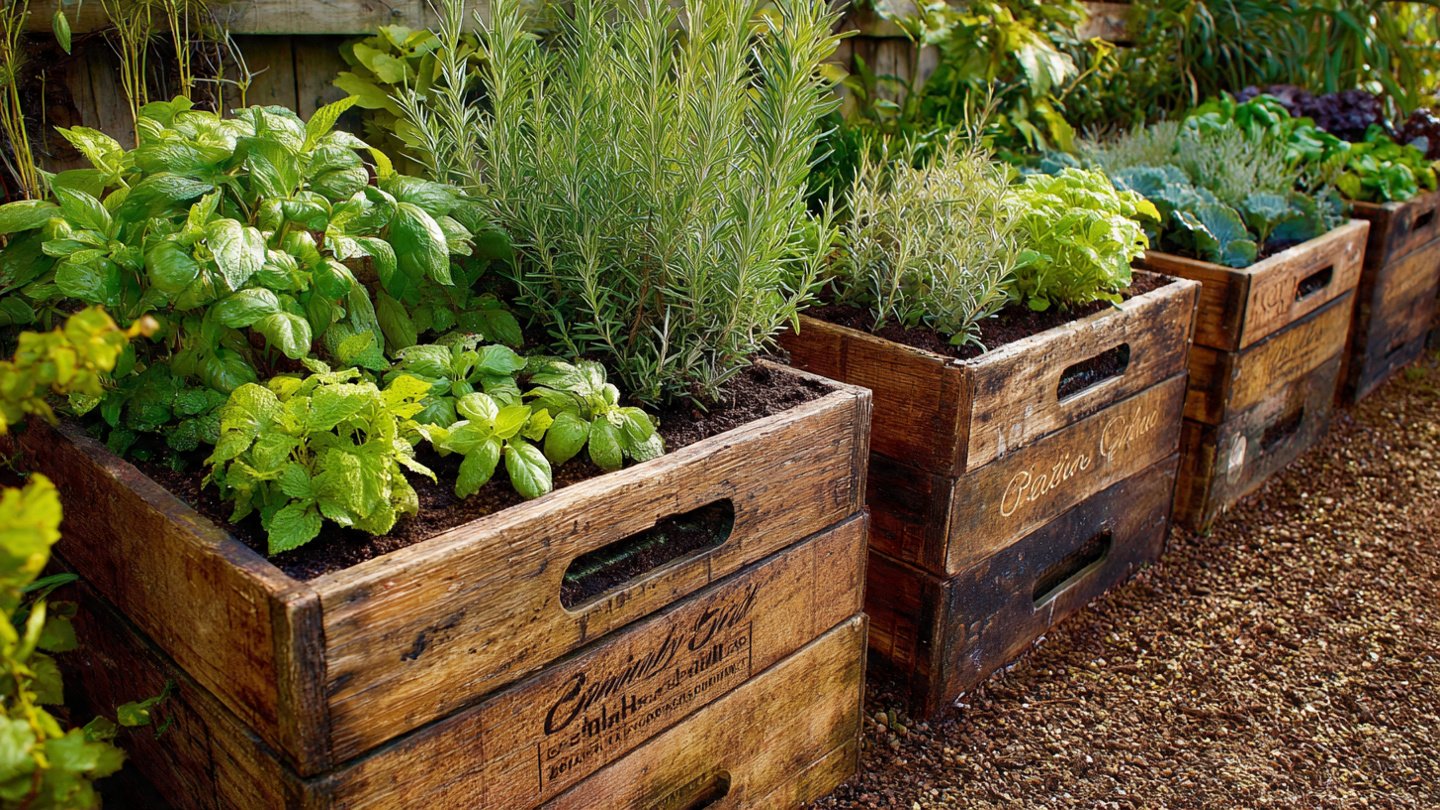
Wine crates are sturdy, possess an inherent charm, and come in various sizes, making them ideal for gardening. Here are some reasons to consider using them:
- Durability: Wine crates are typically made of wood, which can withstand outdoor conditions.
- Style: The rustic aesthetic of wood can enhance the overall look of your garden or balcony.
- Size Variety: Wine crates come in various sizes, allowing flexibility in design and placement.
- Cost-Effective: Repurposing old crates is budget-friendly compared to buying new planters.
Materials You’ll Need
Before you start, gather all the materials necessary for your herb garden project:
- Old wine crates
- Potting soil
- Herb seeds or seedlings (such as basil, thyme, cilantro, or parsley)
- Drill (optional, for drainage holes)
- Liner (landscape fabric is a good option)
- Paint or wood stain (optional, for aesthetics)
- Watering can or spray bottle
- Gardening gloves
- Labels (for identifying herbs)
Step-by-Step Guide to Creating Your Herb Garden
Step 1: Prepare the Wine Crates
Start by cleaning the crates thoroughly to remove any dirt or remnants. If the crates are stained or worn, consider washing them with soap and water, allowing them to dry completely. This step is crucial for preventing any mold or mildew that may affect the herbs.
Step 2: Add Drainage Holes
If your wine crates do not have holes for drainage, use a drill to make several holes on the bottom. Drainage is vital to prevent water from pooling, which can lead to root rot. If you don’t have a drill, you can also use a hammer and a nail to create small openings.
Step 3: Line the Crates
To protect the wood and help retain moisture, line the inside of the wine crate with landscape fabric. Cut the fabric to size and staple or secure it around the edges if necessary. This will create a barrier while allowing excess water to escape.
Step 4: Fill with Potting Soil
Fill the lined crate with potting soil, leaving about an inch of space from the top. Make sure to choose a good quality, well-draining mix that is suitable for herb gardening. Level the soil with your hands or a garden rake.
Step 5: Plant Your Herbs
Now it’s time to plant your herbs! You can either sow seeds or transplant seedlings, depending on your preference. If planting seeds, follow the instructions on the seed packet for depth and spacing. For seedlings, gently remove them from their original containers and place them in the soil. Firm the soil around the base of each plant.
Step 6: Watering
Water the newly planted herbs gently using a watering can or spray bottle. Be careful not to overwater, as this can lead to waterlogged soil. It’s essential to keep the soil evenly moist, especially during the initial growth period.
Step 7: Positioning and Care
Place your wine crate herb garden in a spot that receives at least 6-8 hours of sunlight daily. Herbs generally thrive in sunlight, so finding the right location is key. Monitor the moisture levels and provide water as needed, ensuring not to drown the plants.
Step 8: Harvesting
As your herbs grow, you can begin to harvest them. Regularly trimming your herbs promotes bushier growth and prevents the plants from going to seed. Always use clean scissors to snip leaves, allowing you to enjoy the freshness in your cooking.
Personalizing Your Herb Garden
Your wine crate herb garden doesn’t have to stop at just planting. Personalizing your herb garden can further enhance its charm:
- Decorate the Crates: You can paint or stain the crates in colors that match your home’s decor or exterior. Consider applying weather-resistant finishes for longevity.
- Label Your Herbs: Use wooden or plastic stakes to label each type of herb you plant. This not only adds a decorative element but also helps in identifying the herbs easily.
- Stacking Crates: For larger spaces, consider stacking multiple crates vertically. This creates a unique look while maximizing your growing area.
Conclusion
Transforming old wine crates into a chic herb garden is a fun and sustainable way to enhance your home. With a bit of creativity and effort, you can create a beautiful and functional space that provides fresh herbs for your cooking. Not only does this project reduce waste, but it also brings the joy of gardening into your life, whether you have a green thumb or are just starting out. Enjoy the process and relish the delight that comes from growing your own herbs!
Frequently Asked Questions (FAQs)
1. Can I use any type of wine crate for gardening?
Yes, any wooden wine crate can be used, but it’s best to choose ones that are in good condition and free from chemicals or harmful finishes.
2. Do I need to treat the wood before planting?
If you want longevity, consider applying a natural wood sealer. Make sure that it is food-safe if you are growing edible plants.
3. What herbs are best for beginners?
Some of the easiest herbs to grow for beginners include basil, parsley, mint, and chives. They’re hardy and can thrive with proper care.
4. How often should I water my herb garden?
Water your herbs regularly, but avoid overwatering. Check the top inch of soil; if it’s dry, it’s time to water again.
5. Can I keep my herb garden indoors?
Yes, you can keep your herb garden indoors, provided it receives enough sunlight. A south-facing window is ideal for indoor herb gardening.