A well-defined garden border can completely transform an outdoor space, turning an ordinary yard into a polished and intentional landscape. One of the most eco-friendly, durable, and visually appealing ways to create a garden border is by using recycled bricks. Whether salvaged from old buildings, patios, or renovation projects, bricks offer timeless charm while reducing waste.
This guide will walk you through why recycled bricks are a smart choice, how to plan and build a brick garden border, and creative design ideas to elevate your garden’s appearance.
Why Choose Recycled Bricks for Garden Borders?
Recycled bricks offer both practical and aesthetic advantages:
- Environmentally friendly: Reusing bricks reduces landfill waste
- Cost-effective: Salvaged bricks are often cheaper or even free
- Durable: Bricks withstand weather, moisture, and soil pressure
- Classic look: They blend beautifully with any garden style
- Low maintenance: Once installed, brick borders last for years
Using recycled materials also adds character—chips, color variations, and aged textures give your garden a unique, lived-in charm.
Where to Find Recycled Bricks
You can source recycled bricks from:
- Demolition sites (with permission)
- Salvage yards and reclaimed material suppliers
- Online marketplaces and community listings
- Old patios, walkways, or driveways
- Construction leftovers from friends or neighbors
Before using them, check that the bricks are solid, not crumbling, and free from chemical contamination.
Planning Your Garden Border
Define the Purpose
Decide what the border will do:
- Separate lawn from flower beds
- Keep mulch contained
- Edge a vegetable garden
- Frame a pathway
Measure and Mark
- Use string, garden hose, or chalk to outline the border
- Measure the length to estimate how many bricks you’ll need
- Add 10–15% extra bricks for breakage or adjustments
Preparing the Ground
Proper preparation ensures longevity:
- Dig a trench 4–6 inches deep and slightly wider than the bricks
- Level the base using a tamper or flat shovel
- Add a layer of sand or gravel for drainage and stability
- Lightly compact the base before laying bricks
This foundation prevents bricks from shifting or sinking over time.
Laying Recycled Brick Borders
Option 1: Flat Brick Border
- Lay bricks horizontally for a clean, subtle edge
- Ideal for lawns and modern gardens
Option 2: Vertical or Soldier Course
- Stand bricks upright for a bold, raised look
- Excellent for keeping soil and mulch contained
Option 3: Angled or Diagonal Layout
- Adds movement and visual interest
- Works well in informal or cottage-style gardens
Place bricks tightly together and check alignment frequently.
Securing the Bricks
You can secure bricks in different ways depending on permanence:
- Dry-laid: No mortar, flexible and easy to adjust
- Sand-filled joints: Sweep sand into gaps for stability
- Mortar-set: Permanent and highly durable, best for formal designs
Dry-laid borders are recommended for beginners and eco-conscious gardeners.
Finishing Touches
- Backfill soil or mulch along the border edges
- Press soil firmly against the bricks
- Rinse bricks to remove dust and reveal their color
- Add plants that soften the border, like creeping thyme or alyssum
Design Ideas Using Recycled Bricks
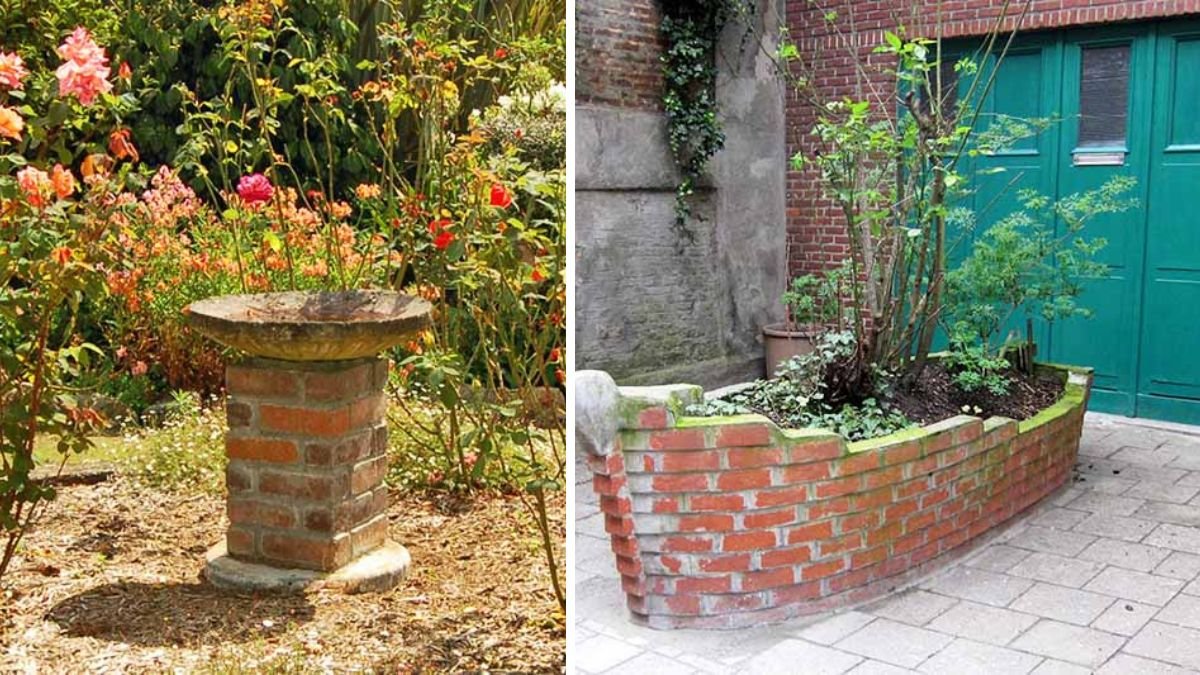
- Curved borders for natural-looking beds
- Layered edging for raised flower beds
- Mixed materials (brick + stone) for texture
- Brick mosaics using different colors and sizes
Recycled bricks pair beautifully with herbs, roses, native plants, and vegetables.
Maintenance Tips
- Re-level bricks annually if dry-laid
- Remove weeds growing between gaps
- Replace damaged bricks as needed
- Refresh sand joints periodically
Final Thoughts
Using recycled bricks for garden borders is a sustainable, affordable, and stylish solution that enhances any outdoor space. With careful planning, simple tools, and creativity, you can transform discarded materials into a long-lasting garden feature that adds structure, beauty, and value to your landscape.