Many gardeners and home cooks grow herbs with enthusiasm, only to find that after a few weeks—or sometimes a season—their plants start to look tired, overgrown, or wilted. It can be tempting to toss them out, thinking they’ve served their purpose. But according to horticulture and culinary experts, old or struggling herbs can often be revived, preserved, or repurposed in ways that extend their life and usefulness. With the right approach, you can transform aging herbs into fresh ingredients, DIY remedies, or even new plants.
This guide explores ways to breathe new life into your old herbs, offering practical tips, preservation methods, and creative repurposing ideas.
Why Old Herbs Deserve a Second Chance
Herbs are resilient plants, capable of regenerating under proper care. Even when their leaves look sparse or stems seem woody, there’s often life still in the roots or lower shoots. Reviving herbs has several benefits:
- Cost savings: Avoid replacing herbs every few weeks.
- Sustainability: Reduces food and plant waste.
- Flavor enhancement: Older herbs, when pruned or processed, can provide concentrated flavors for cooking.
- Gardening satisfaction: Nurturing plants back to life strengthens gardening skills.
Experts emphasize that even herbs past their prime often contain the potential for renewed growth or creative use.
Step 1: Assess the Health of Your Herbs
Before deciding how to use old herbs, evaluate their condition:
- Leaves: Are they wilted, yellow, or dried?
- Stems: Woody stems may still produce new shoots if roots are healthy.
- Roots: If the plant can be gently removed from the pot, check for firm, white roots; dark, mushy roots indicate rot.
By carefully examining your herbs, you can determine whether to revive them, propagate new plants, or preserve them for culinary use.
Step 2: Reviving Your Herbs
Many herbs can bounce back with minimal effort:
- Pruning: Trim away dead or brown leaves and cut back long, leggy stems. This encourages new growth from the base.
- Repotting: Transfer herbs into fresh, well-draining soil to give roots a nutrient boost.
- Watering adjustments: Reduce watering if the soil is soggy, or increase it slightly if the plant is dry.
- Fertilization: Apply a balanced, diluted liquid fertilizer to stimulate growth.
- Sunlight: Move potted herbs to brighter spots, ensuring they receive adequate light without scorching.
Experts note that regular monitoring and minor adjustments can bring seemingly spent herbs back to health in just a few weeks.
Step 3: Propagate Old Herbs
Even if an herb plant is declining, it may still be possible to produce new plants:
- Stem cuttings: Take healthy, non-woody stems and place them in water or moist soil to root.
- Division: For herbs with clumping growth habits, gently divide the root mass and replant sections.
- Layering: Pin a low stem to soil and cover lightly to encourage rooting before separating it from the parent plant.
Propagation not only saves money but also ensures a continuous supply of fresh herbs.
Step 4: Drying Herbs
Drying is a classic way to preserve herbs:
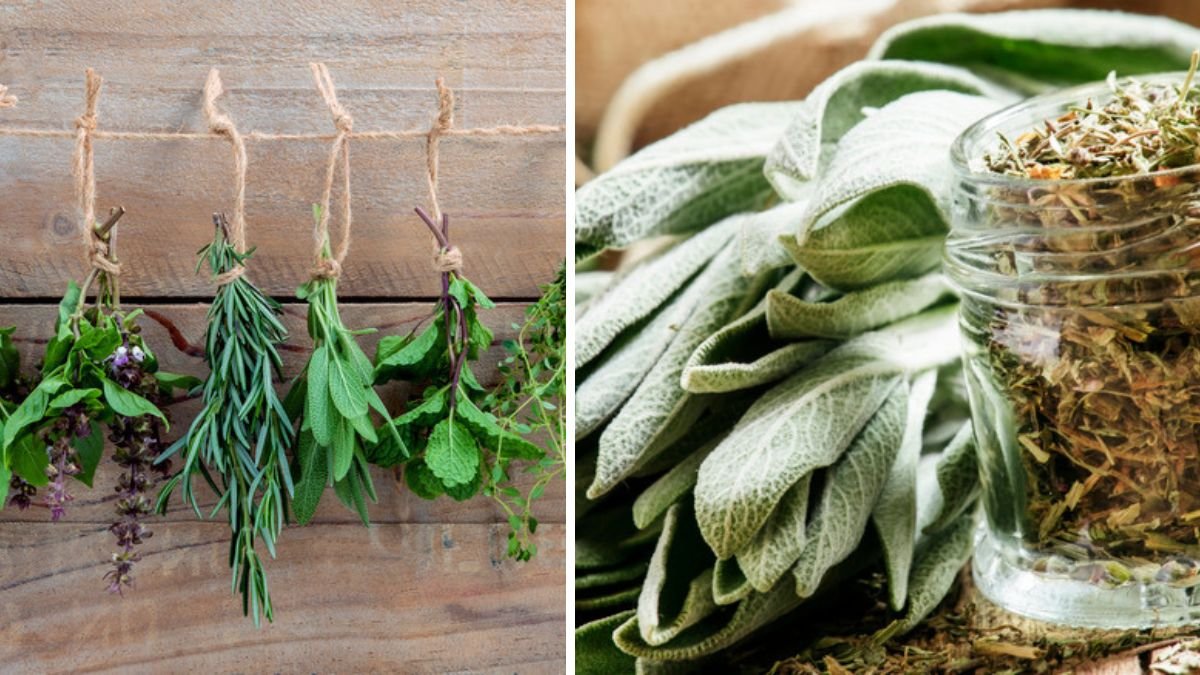
- Air drying: Bundle stems together and hang in a warm, dry, ventilated area. Leaves can be crushed and stored in airtight containers.
- Oven drying: Spread leaves on a baking sheet and dry at low heat (95–100°F) for 1–2 hours.
- Dehydrator: Use a food dehydrator for even drying and preservation of flavor.
Experts recommend drying herbs like rosemary, thyme, oregano, and sage, as they retain flavor well when dried.
Step 5: Freezing Herbs
Freezing preserves fresh flavor and aroma:
- Whole leaves: Wash, pat dry, and place in freezer-safe containers or bags.
- Herb cubes: Chop herbs, mix with olive oil or water, and freeze in ice cube trays for convenient cooking portions.
- Pesto or herb butter: Blend herbs with olive oil or butter and freeze in small portions.
Freezing is particularly effective for basil, parsley, cilantro, and chives, providing a fresh taste even in off-season months.
Step 6: Infusing Oils and Vinegars
Old herbs can flavor oils and vinegars:
- Herb-infused oil: Place slightly bruised leaves in olive oil and let steep for 1–2 weeks. Strain before use.
- Herb vinegar: Combine herbs with white or apple cider vinegar, let steep for 2–3 weeks, then strain.
These infusions enhance salads, marinades, and cooking without wasting aging herbs.
Step 7: Culinary Repurposing
Even if herbs are too old to look fresh on a plate, they can still flavor dishes:
- Stocks and soups: Add older herbs to broths or stews for depth of flavor.
- Herb pastes: Blend wilted leaves into sauces, pestos, or marinades.
- Seasoning blends: Mix dried leaves with salt, pepper, or other spices to create herb blends for future use.
Experts emphasize that using herbs in cooked dishes allows you to extract maximum flavor while reducing waste.
Step 8: Making Herbal Teas
Many older herbs retain medicinal and aromatic properties, perfect for homemade teas:
- Chamomile, mint, lemon balm, or thyme: Steep dried leaves in hot water for soothing beverages.
- Mix and match: Combine different herbs to create unique flavor profiles.
- Storage: Store dried herbs in airtight containers away from light and moisture to maintain potency.
Experts note that herbal teas are a simple and enjoyable way to use herbs that are past their prime for culinary display.
Step 9: Composting
If herbs are too far gone for cooking or propagation, they can still enrich your garden:
- Chop up leaves and stems and add to a compost pile or bin.
- Mix with other organic matter to create nutrient-rich soil for future planting.
- Avoid adding herbs with disease or pest infestations to prevent spreading problems.
Composting old herbs contributes to a sustainable gardening cycle, returning nutrients to the soil.
Step 10: Creative Uses
Old herbs can also be repurposed for non-culinary uses:
- Potpourri: Dry herbs like rosemary, lavender, and mint for fragrant mixes.
- Herbal sachets: Fill small fabric bags with dried herbs to freshen drawers and closets.
- Natural cleaners: Combine herbs with vinegar or citrus peels for fragrant, eco-friendly cleaning solutions.
- Skin care: Make herbal oils, scrubs, or bath soaks using dried herbs.
Experts note that these creative approaches give herbs new life beyond the kitchen.
Step 11: Preventing Premature Decline
To avoid herbs becoming “old” too quickly:
- Regular harvesting: Snip leaves frequently to encourage growth.
- Adequate light: Ensure herbs receive sufficient sunlight for photosynthesis.
- Proper watering: Avoid over- or under-watering, which weakens plants.
- Seasonal maintenance: Repot, prune, and fertilize periodically to maintain vigor.
With consistent care, herbs can remain productive for months or even years.
Step 12: Embracing a Sustainable Mindset
Reviving and repurposing herbs is not only practical but also eco-friendly:
- Reduces food waste by using every part of the plant.
- Minimizes the need to purchase new herbs frequently.
- Encourages a creative approach to cooking and gardening.
Experts encourage gardeners to view herbs as versatile resources rather than disposable plants.
Final Thoughts
Old herbs are far from useless. With the right care and a little creativity, they can be revived, preserved, or repurposed in countless ways. According to horticulture and culinary experts, pruning, propagation, drying, freezing, infusing, and cooking are all effective strategies to extend the life and usefulness of your herbs.
Rather than discarding plants that seem past their prime, gardeners can turn them into fresh ingredients, aromatic teas, DIY products, or new plants for the garden. By embracing these techniques, you not only save money and reduce waste but also enjoy the full potential of your herbs for cooking, gardening, and home projects.
Your old herbs can continue to bring flavor, fragrance, and beauty to your home—sometimes in ways you never imagined. With patience, care, and creativity, there’s no need to throw them away.