Jicama, also known as the Mexican yam bean, is a crunchy, sweet root vegetable prized for salads, stir-fries, and snacks. Its crisp texture is refreshing and nutritious, yet many gardeners are unfamiliar with how to grow it at home. Luckily, jicama is beginner-friendly and thrives with proper soil, sunlight, and care.
This guide provides a step-by-step approach to growing jicama at home, from planting seeds to harvesting juicy, tender roots.
Why Grow Jicama at Home
- Nutritious: High in fiber, vitamin C, and low in calories
- Delicious: Sweet, crunchy flavor, perfect raw or cooked
- Compact growth: Ideal for backyard gardens or larger containers
- Low pest problems: Hardy and resilient
Homegrown jicama offers the freshest, sweetest roots, far superior to store-bought varieties.
Selecting Seeds and Varieties
- Purchase seeds labeled for edible root production
- Popular varieties include ‘Palmera’ and ‘Mexican Jicama’
- Choose seeds suited for your climate—warm-season crops do best in areas without frost
Preparing the Garden Bed or Containers
1. Site Selection:
- Full sun (at least 6 hours daily)
- Well-draining soil; jicama roots rot in heavy clay
2. Soil Preparation:
- Mix compost or aged manure into the soil
- pH between 6.0–7.0 is ideal
- Loosen soil to at least 12 inches deep for unrestricted root growth
3. Container Growing:
- Use deep containers (at least 12–15 inches) with drainage holes
- Use a loose potting mix enriched with compost
Planting Jicama Seeds
- Soak seeds in water for 24 hours to improve germination
- Plant seeds 1 inch deep in prepared soil
- Space seeds 12–18 inches apart
- Keep soil consistently moist during germination (2–3 weeks)
Caring for Jicama Plants
Sunlight
- Full sun promotes vigorous growth and root development
Watering
- Water regularly to keep soil slightly moist
- Avoid overwatering, which causes root rot
Fertilizing
- Apply balanced organic fertilizer every 4–6 weeks
- Avoid excessive nitrogen, which favors leafy growth over root development
Support
- Provide trellises or stakes for climbing vines
- Jicama vines can grow up to 10–15 feet if supported
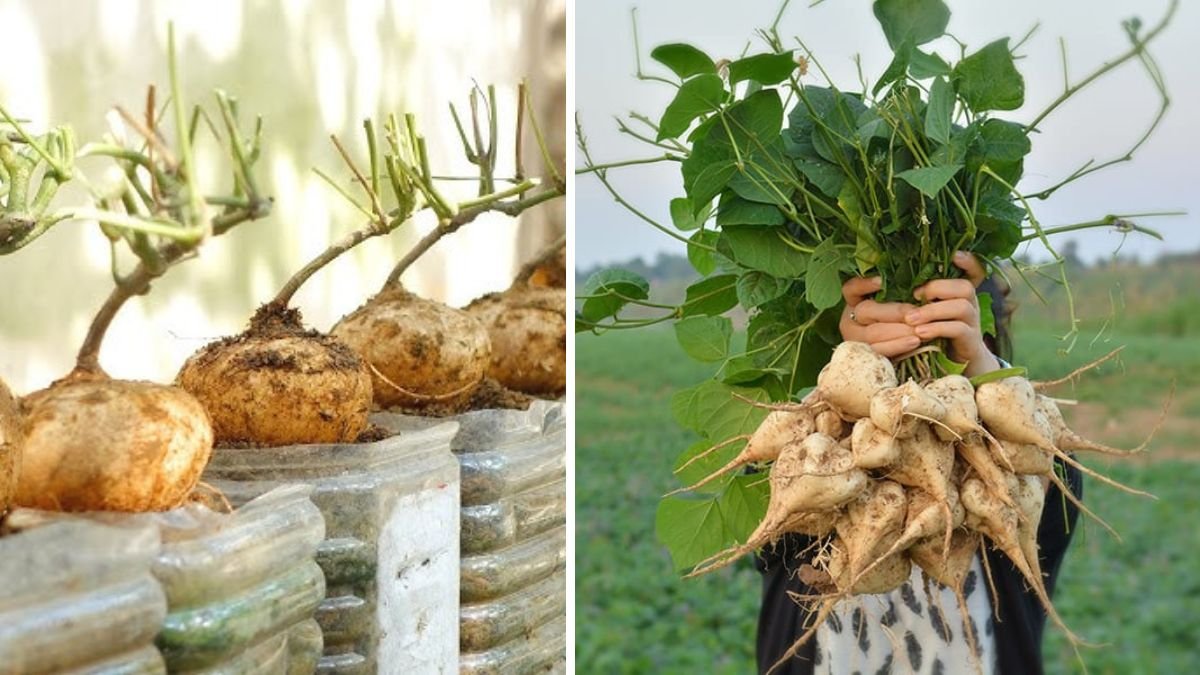
Harvesting Jicama
- Roots are ready 6–9 months after planting, when vines begin to yellow and die back
- Carefully dig around roots to avoid damage
- Roots can grow up to 3–4 inches in diameter
- Harvest smaller roots first for a sweeter, crisper taste
Tip: Jicama is frost-sensitive; harvest before first frost in colder climates.
Storage and Use
- Store unpeeled roots in a cool, dry place for up to 3–4 weeks
- Peel before eating; use in salads, stir-fries, or raw snacks
- Leaves and pods are edible in some varieties but always check guidelines for safety
Troubleshooting Common Problems
- Yellowing leaves: Lack of nutrients or overwatering
- Poor root growth: Crowded planting, shallow soil, or insufficient sun
- Pests: Slugs, snails, or occasional aphids can be controlled organically
Creative Uses in the Garden
- Combine jicama with climbing beans or peas for a vertical garden
- Plant alongside tomatoes or peppers for companion planting benefits
- Use containers on patios for easy harvesting and garden rotation
Final Thoughts
Growing jicama at home is rewarding, beginner-friendly, and produces crunchy, sweet roots perfect for fresh salads or cooking. With warm soil, full sun, and proper support, you can harvest your own homegrown jicama, adding nutritious and delicious vegetables to your meals.
Whether planted in garden beds or containers, jicama offers a fun and productive gardening experience that encourages experimenting with flavors and fresh ingredients right from your backyard.