Weedy patches are one of the most common frustrations for homeowners and gardeners alike. They not only detract from your yard’s beauty but also compete with desirable plants for nutrients, water, and sunlight. While chemical herbicides are an option, many people prefer a natural, budget-friendly, and environmentally safe approach to reclaim their yard. With a little planning and a simple DIY solution, you can transform weedy patches into attractive, low-maintenance areas that enhance your landscape.
In this guide, we’ll explore why weeds grow, what makes them so persistent, and a step-by-step DIY solution to restore your yard’s beauty.
Why Weeds Take Over Your Yard
Before tackling the problem, it helps to understand why weeds appear and thrive:
- Disturbed Soil: Bare or compacted soil is prime real estate for weeds.
- Sunlight Exposure: Weeds often thrive in areas with full sun where grass or plants are thin.
- Moisture Levels: Weeds can grow quickly in overwatered areas or spots where water collects.
- Seed Spread: Many weeds spread through wind, animals, or foot traffic.
Common culprits include dandelions, crabgrass, chickweed, and clover. While small patches may seem harmless, left unchecked, they spread rapidly, making the yard look neglected.
The Easy DIY Solution: Raised or Defined Garden Beds
One of the most effective and visually appealing ways to eliminate weedy patches is to convert them into raised or defined garden beds. This approach does more than hide the weeds—it prevents them from returning while giving you a functional space for flowers, herbs, or vegetables.
Benefits of This Method:
- Eliminates bare soil where weeds thrive.
- Provides a defined area for planting and maintenance.
- Improves soil quality and drainage.
- Enhances the visual appeal of your yard instantly.
Step 1: Identify the Weedy Areas
Start by surveying your yard:
- Look for dense clusters of weeds or bare patches.
- Determine the size and shape of the area you want to convert.
- Consider sunlight, water availability, and accessibility when planning the bed.
Step 2: Remove Existing Weeds
Before installing your new bed, it’s important to clear out the weeds:
- Manual Removal: Pull weeds by hand, ensuring you remove the roots to prevent regrowth.
- Tools: Use a hoe, garden fork, or weed puller for larger areas.
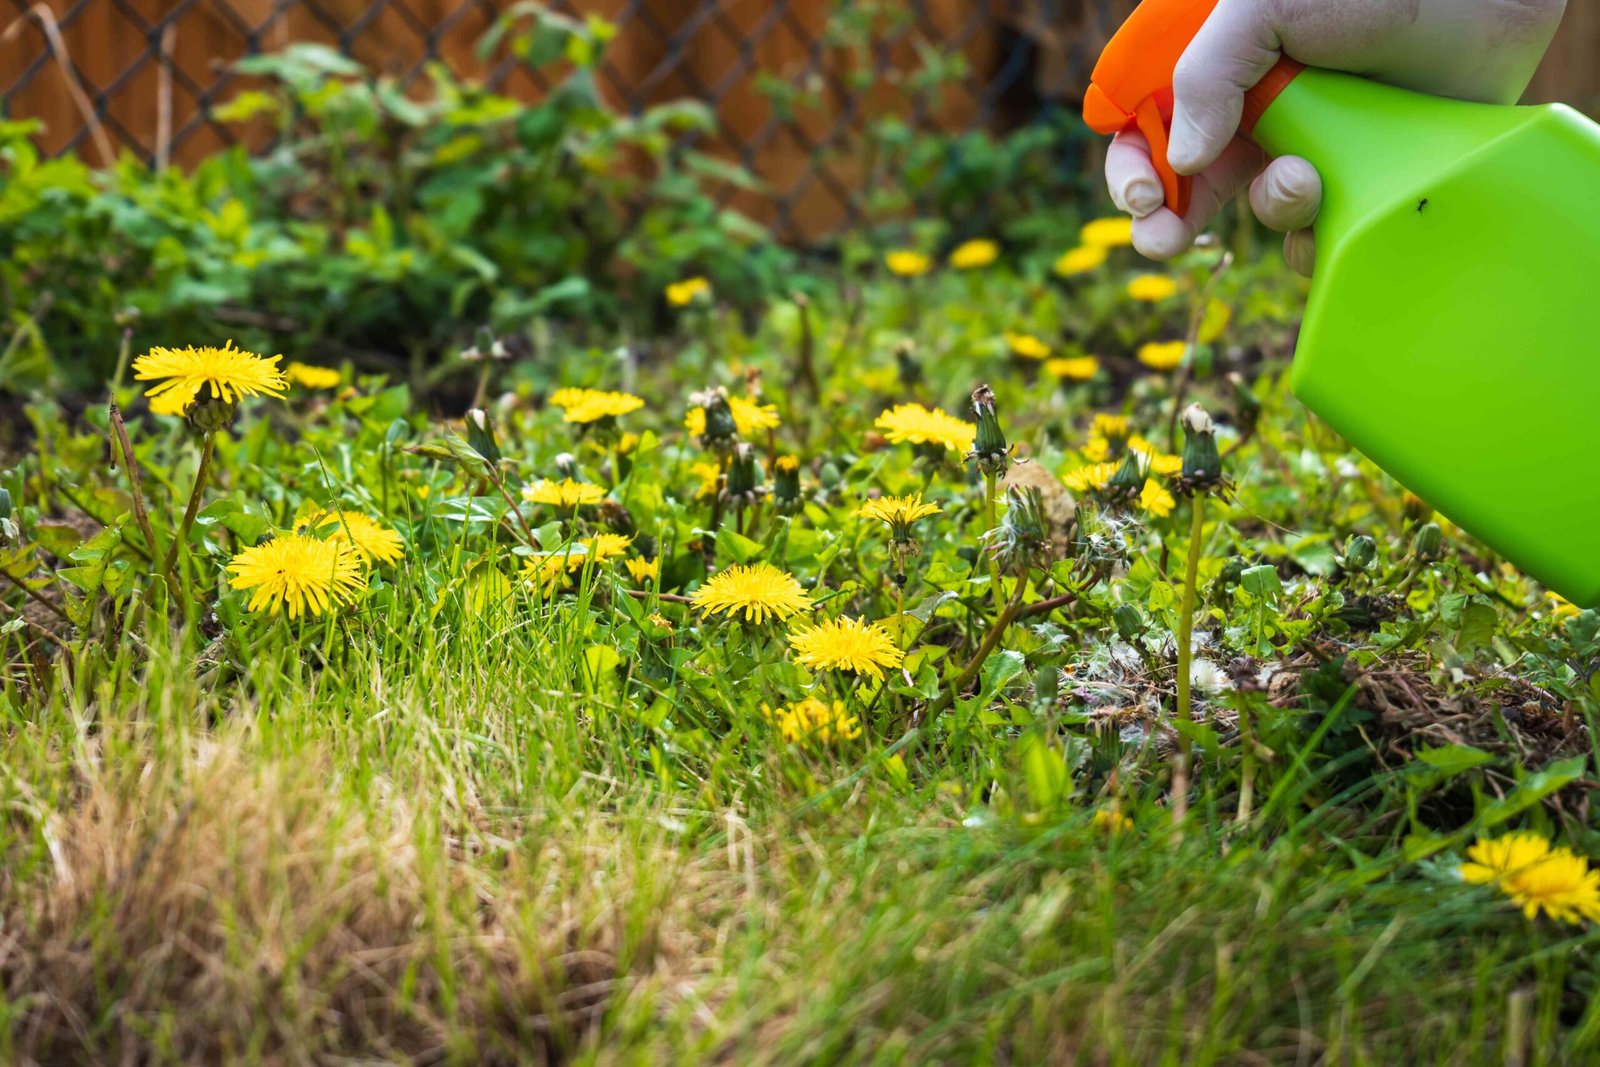
- Optional Natural Weed Killer: Pour a solution of vinegar and water on stubborn weeds, but avoid contact with surrounding plants.
Step 3: Prepare the Soil
Weeds often thrive in compacted or nutrient-poor soil, so preparing a fresh, nutrient-rich base is key:
- Loosen the Soil: Dig 6–8 inches deep to aerate and remove remaining roots.
- Add Compost or Organic Matter: Enriches the soil, improves drainage, and promotes healthy plant growth.
- Level the Area: Smooth out high and low spots to create a uniform surface for planting or building your raised bed.
Step 4: Install a Barrier Against Weeds
To prevent future weeds from reappearing:
- Lay down landscape fabric or weed barrier over the cleared soil.
- Secure it with garden staples.
- Cut holes where plants will be placed.
This barrier blocks sunlight from reaching weed seeds, drastically reducing the likelihood of regrowth while allowing water and nutrients to reach your plants.
Step 5: Build a Raised Bed or Defined Border
Raised beds or bordered garden beds provide structure and make maintenance easier:
- Materials: Wood, stone, brick, or even recycled pallets.
- Height: 6–12 inches is sufficient for most flowers or vegetables.
- Shape: Rectangular, circular, or curved—choose a shape that complements your yard.
DIY Tip: Even a simple border around a weedy patch, filled with fresh soil, can instantly transform an eyesore into a neat planting area.
Step 6: Fill with Quality Soil
Use a well-draining, nutrient-rich soil mix suitable for your chosen plants:
- Mix Options: Topsoil, compost, and sand or perlite for drainage.
- Depth: Aim for at least 8–12 inches of soil for most vegetables or perennials.
- Leveling: Smooth the surface and firm gently without compacting.
Fresh soil not only supports plant growth but also discourages weeds by providing healthy conditions for desired plants to thrive.
Step 7: Choose and Plant Your Garden
Now comes the fun part: choosing plants to fill your transformed space. Consider a combination of aesthetics and practicality:
Options:
- Perennials: Lavender, hostas, and daylilies return year after year with minimal maintenance.
- Herbs: Basil, rosemary, thyme, and oregano provide fragrance, culinary use, and repel certain pests.
- Flowers: Marigolds, petunias, or calendula add seasonal color and attract pollinators.
- Ground Covers: Creeping thyme, sedum, or clover reduce bare spots and prevent weeds from sprouting.
Planting Tips:
- Space plants according to their growth habits.
- Water thoroughly after planting.
- Mulch around plants to retain moisture and suppress weeds.
Step 8: Maintain Your New Garden Area
Even low-maintenance beds need some care to keep weeds at bay and plants thriving:
- Watering: Keep soil moist but not waterlogged, especially for newly planted areas.
- Mulching: Refresh mulch each season to suppress weeds and retain moisture.
- Regular Weeding: Remove any stray weeds immediately before they establish.
- Fertilization: Use compost or balanced fertilizer during the growing season for healthy growth.
- Pruning and Deadheading: Maintain a tidy appearance and encourage continuous blooming.
Extra Tips for Success
- Plant Densely: Covering the soil with healthy plants reduces open areas for weeds to take root.
- Mix Plant Types: Combine tall, medium, and ground-cover plants for a layered look that also discourages weeds.
- Consider Color and Texture: Use foliage, flowers, and textures to create visual interest instead of just covering bare soil.
- Seasonal Rotation: Switch out annuals or rotate crops in vegetable beds to maintain soil health and reduce pests.
Why This DIY Solution Works
Transforming a weedy patch into a raised or defined garden bed works on several levels:
- It removes the weeds and stops them from returning.
- It adds beauty and structure to your yard.
- It improves soil quality for plants you actually want to grow.
- It requires minimal ongoing maintenance, especially when using mulch and ground-cover plants.
- It creates a functional garden space for flowers, herbs, or vegetables.
Even a small patch of weeds can become a highlight of your landscape with this simple DIY approach.
Conclusion
Weedy patches don’t have to be a permanent eyesore. By following this easy DIY solution, you can reclaim your yard in just a few steps:
- Identify the areas to transform.
- Remove weeds and roots.
- Prepare the soil.
- Install a weed barrier.
- Build a raised or bordered bed.
- Fill with fresh, well-draining soil.
- Plant flowers, herbs, or vegetables.
- Maintain with water, mulch, and seasonal care.
This method not only eliminates the unsightly weeds but also enhances your landscape with color, texture, and utility. With some planning, a few tools, and a little effort, even the most stubborn weedy patches can become a thriving, beautiful feature in your yard.