Introduction
Growing peanuts at home can be one of the most fun and rewarding gardening projects, yet many beginners don’t realize how simple it can be until they try it themselves. Peanuts (Arachis hypogaea) are legumes known for their underground pods and high protein content. With the right [FOCUS KEYWORD] strategies, you can enjoy high yields of home‑grown peanuts even in small spaces like containers or raised beds.
Whether you’re a seasoned gardener or just starting out, this guide will walk you through everything you need to know — from selecting seeds and preparing soil to caring for your crop and harvesting your bounty.
Why Grow Peanuts at Home?
Peanuts are not just tasty snacks — they are also:
- Nitrogen‑fixing plants, meaning they add nutrients back into the soil.
- Fun and satisfying to grow, especially for beginners and children alike.
- Great yields from small spaces, especially when using containers or raised beds.
- Nutritious and versatile, usable raw, roasted, or even boiled.
Unlike many gardening crops, peanuts form their pods below ground after pollination, making the harvest both surprising and exciting.
Peanut Plant Basics
Before diving into the tips, it helps to understand how peanuts grow:
- They prefer warm soil and long frost‑free seasons.
- The flowers bloom above ground, but the pods form underground as “pegs” that bend into the soil.
- Peanuts grow in loose, well‑draining soil and need plenty of sun (ideally 6‑8 hours a day).
With this biology in mind, you can tailor your setup for the best results.
1. Choose the Right Peanut Variety
Peanut varieties differ in taste, growth time, and yield potential:
- Runner peanuts – Excellent for high yields and ideal for peanut butter.
- Virginia peanuts – Large pods with lots of peanuts — great for roasting.
- Spanish peanuts – Smaller seeds with high oil content — ideal for snacks.
- Valencia peanuts – Sweet flavor and multiple kernels per pod.
For beginners and short growing seasons, opt for Spanish or fast‑maturing Valencia varieties for reliable harvests.
2. Pick the Perfect Site and Soil
Peanuts thrive in these conditions:
- Full Sun: At least 6–8 hours daily.
- Loose, Mildly Acidic Soil: Sandy loam with pH between 5.8 and 7.0 suits peanuts best.
- Raised Beds or Containers: Perfect for small spaces or cooler climates.
Avoid heavy clay or compacted soil — it makes it difficult for the pegs to penetrate the earth and form pods.
Pro Tip: Mix compost into your soil 2 weeks before planting to improve drainage and nutrient content.
3. Plant at the Right Time and Depth
Timing matters for a high yield:
- Sow after the last frost when soil temperatures reach at least 65°F (18°C) or warmer.
- Plant seeds 1–2 inches deep, spaced about 4–6 inches apart, with 18–24 inches between rows.
- In cooler regions, consider starting seeds indoors and transplanting once the soil warms.
Using fresh, raw, unsalted peanuts from a seed supplier or health food store will increase germination rates significantly.
4. Care for Your Plants Like a Pro
Once planted:
Sunlight & Water
- Ensure full sun exposure.
- Water regularly, especially during flowering and pegging. Peanuts need consistent moisture but not soggy soil.
Soil & Fertility
- Peanuts fix their own nitrogen, so avoid high‑nitrogen fertilizers.
- Use mulch around plants to maintain soil moisture and suppress weeds.
Hilling
- Around 30–40 days after planting, gently mound soil around the base of plants to help pegs push into the ground.
These care steps significantly improve your plant health and overall yield.
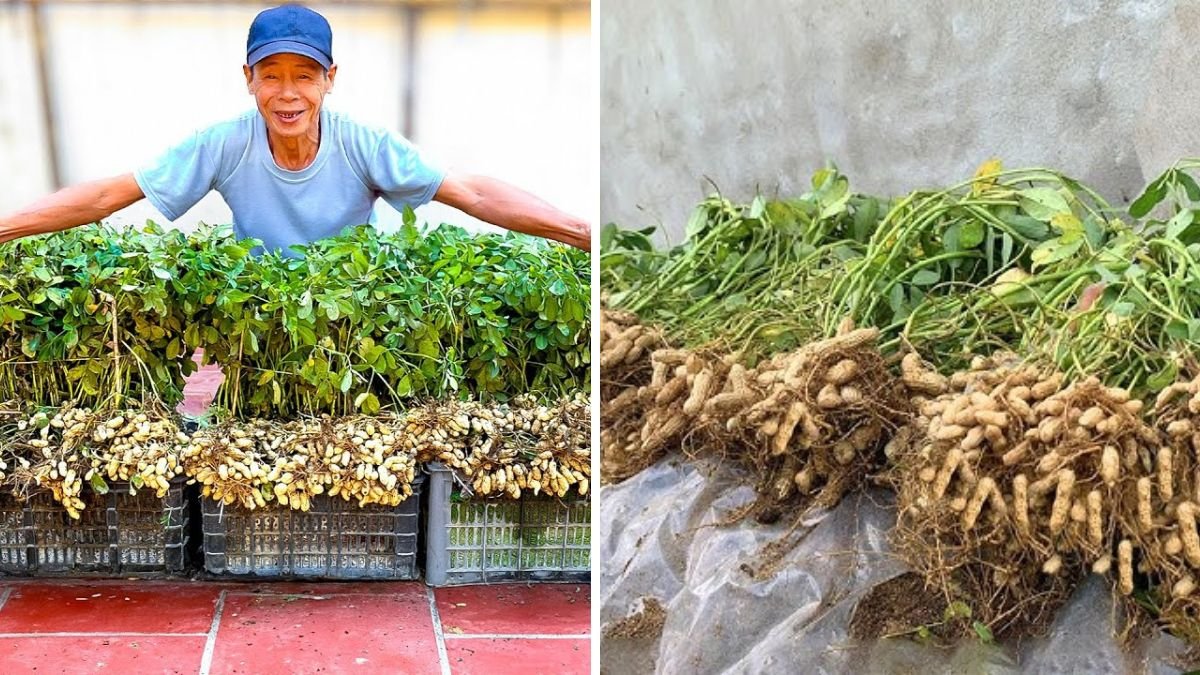
5. Harvesting with Confidence
Knowing when and how to harvest determines your success:
- Most peanuts are ready in 90–150 days depending on the variety.
- Look for yellowing leaves as a harvest signal.
- Gently lift the entire plant with a fork, shake off excess soil, and allow peanuts to dry in a well‑ventilated area.
Stop watering about 10–14 days before harvest so the soil dries and pods can be pulled cleanly.
6. Boost Your Yield Even Without a Garden
You don’t need a large backyard to grow peanuts:
- Containers or grow bags: Use deep pots (at least 12–15 inches) with good drainage.
- Raised beds or boxes: Perfect when soil conditions at ground level are poor.
- DIY planters: Old crates, bags, or foam boxes work well if filled with quality, loose soil and placed in full sun.
Many gardeners have reported success growing peanuts in unconventional spaces like balconies or patios — just give them water, sun, and space to spread.
Troubleshooting Common Peanut Problems
Even easy‑to‑grow crops can run into issues:
- Poor Pod Development: Often due to cool soil or lack of sunlight — ensure warmth and full‑sun exposure.
- Yellow Leaves: Can indicate overwatering or poor drainage.
- Fungal Issues: Avoid overhead watering; maintain airflow and mulch.
Keeping conditions warm, moist but not waterlogged, and well‑drained will solve most problems before they start.
Authoritative Sources to Learn More
For deeper insights on home peanut gardening and maximizing yield, check out these trusted resources:
- Agribuzz – Complete home peanut growing guide: Practical tips from planting to harvest.
- Almanac’s peanut growing guide: Seasonality, soil preparation, and crop care.
- Treehugger peanut care tips: Detailed plant care, types, and harvesting advice.
- Gardening Know How (harvesting): Best practices for digging up and curing peanuts.
Conclusion
Growing peanuts at home doesn’t have to be hard — and with the right tips and techniques ([FOCUS KEYWORD]), you can enjoy high yields even without a big garden. By choosing the right variety, preparing loose soil, planting after frost, watering wisely, and harvesting at the right time, you’ll be on your way to homegrown peanuts that are fresh, nutritious, and satisfying to produce.
Ready to start planting? Let’s get your peanut patch growing!